
Allocate inventory
Before a distribution can be completed, items must be allocated to it. Allocation reserves specific inventory for that recipient.
The distributions list
The hub's Distributions tab shows all distributions associated with this hub.
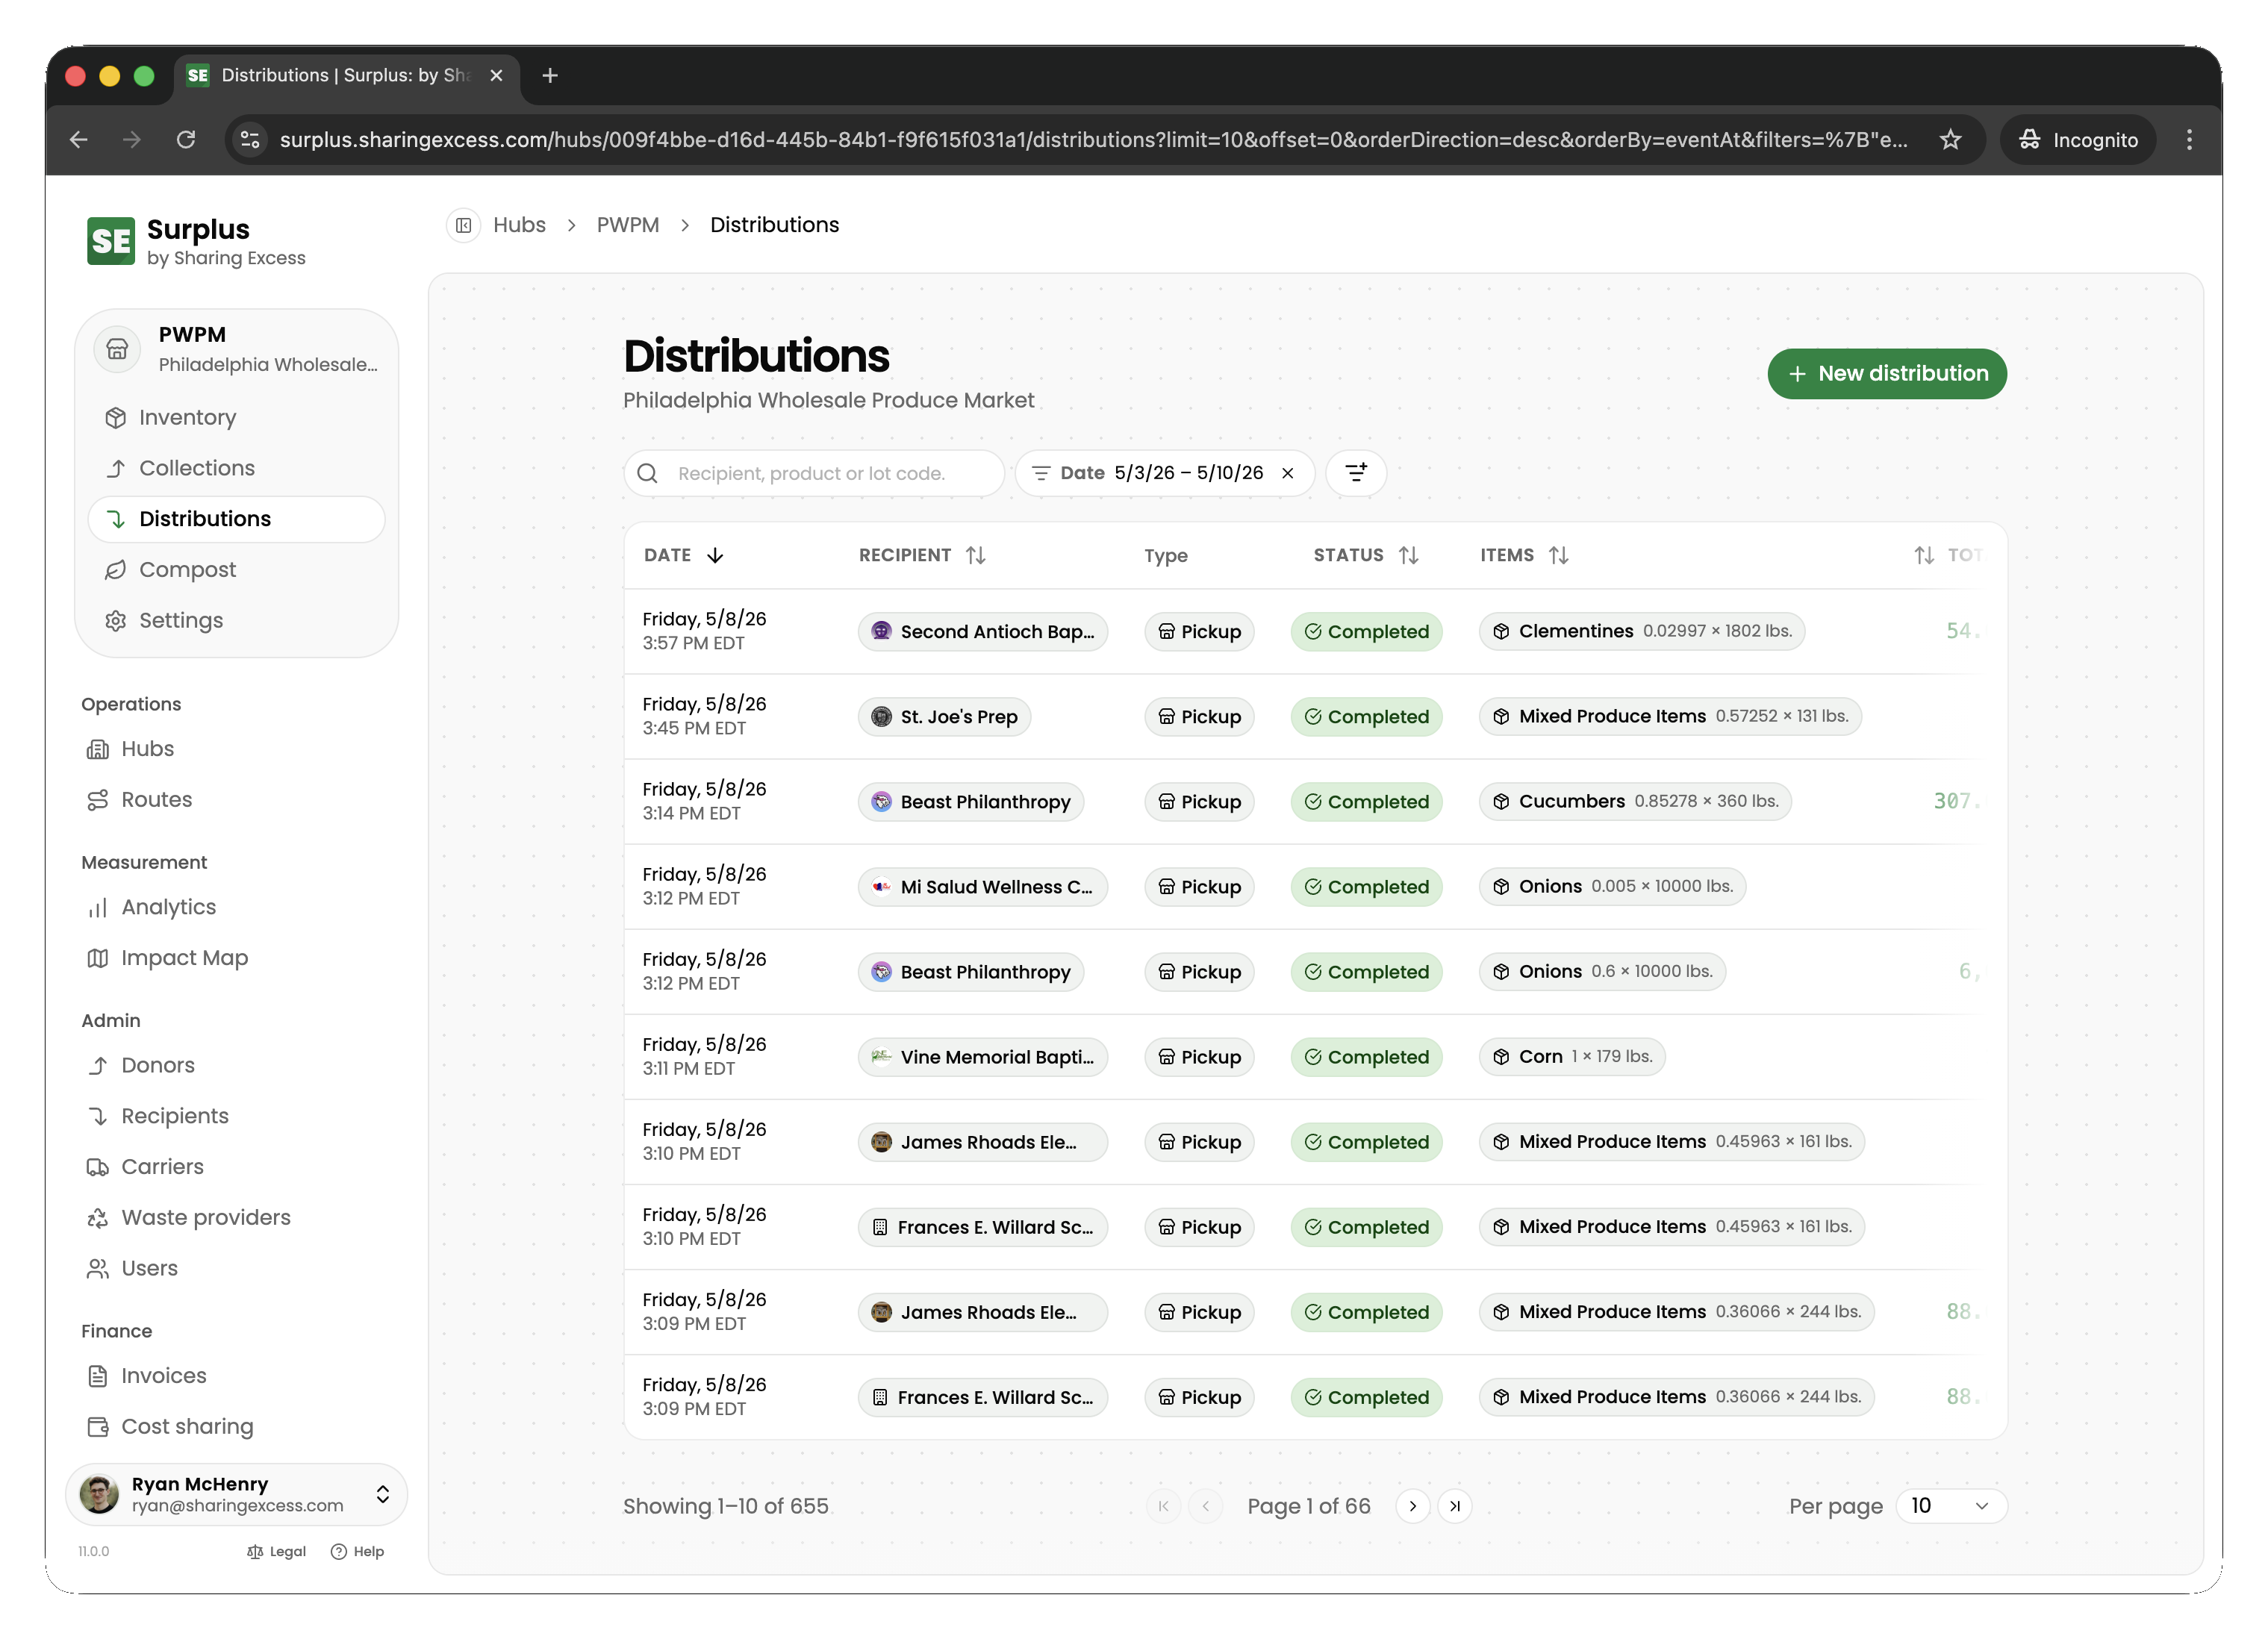
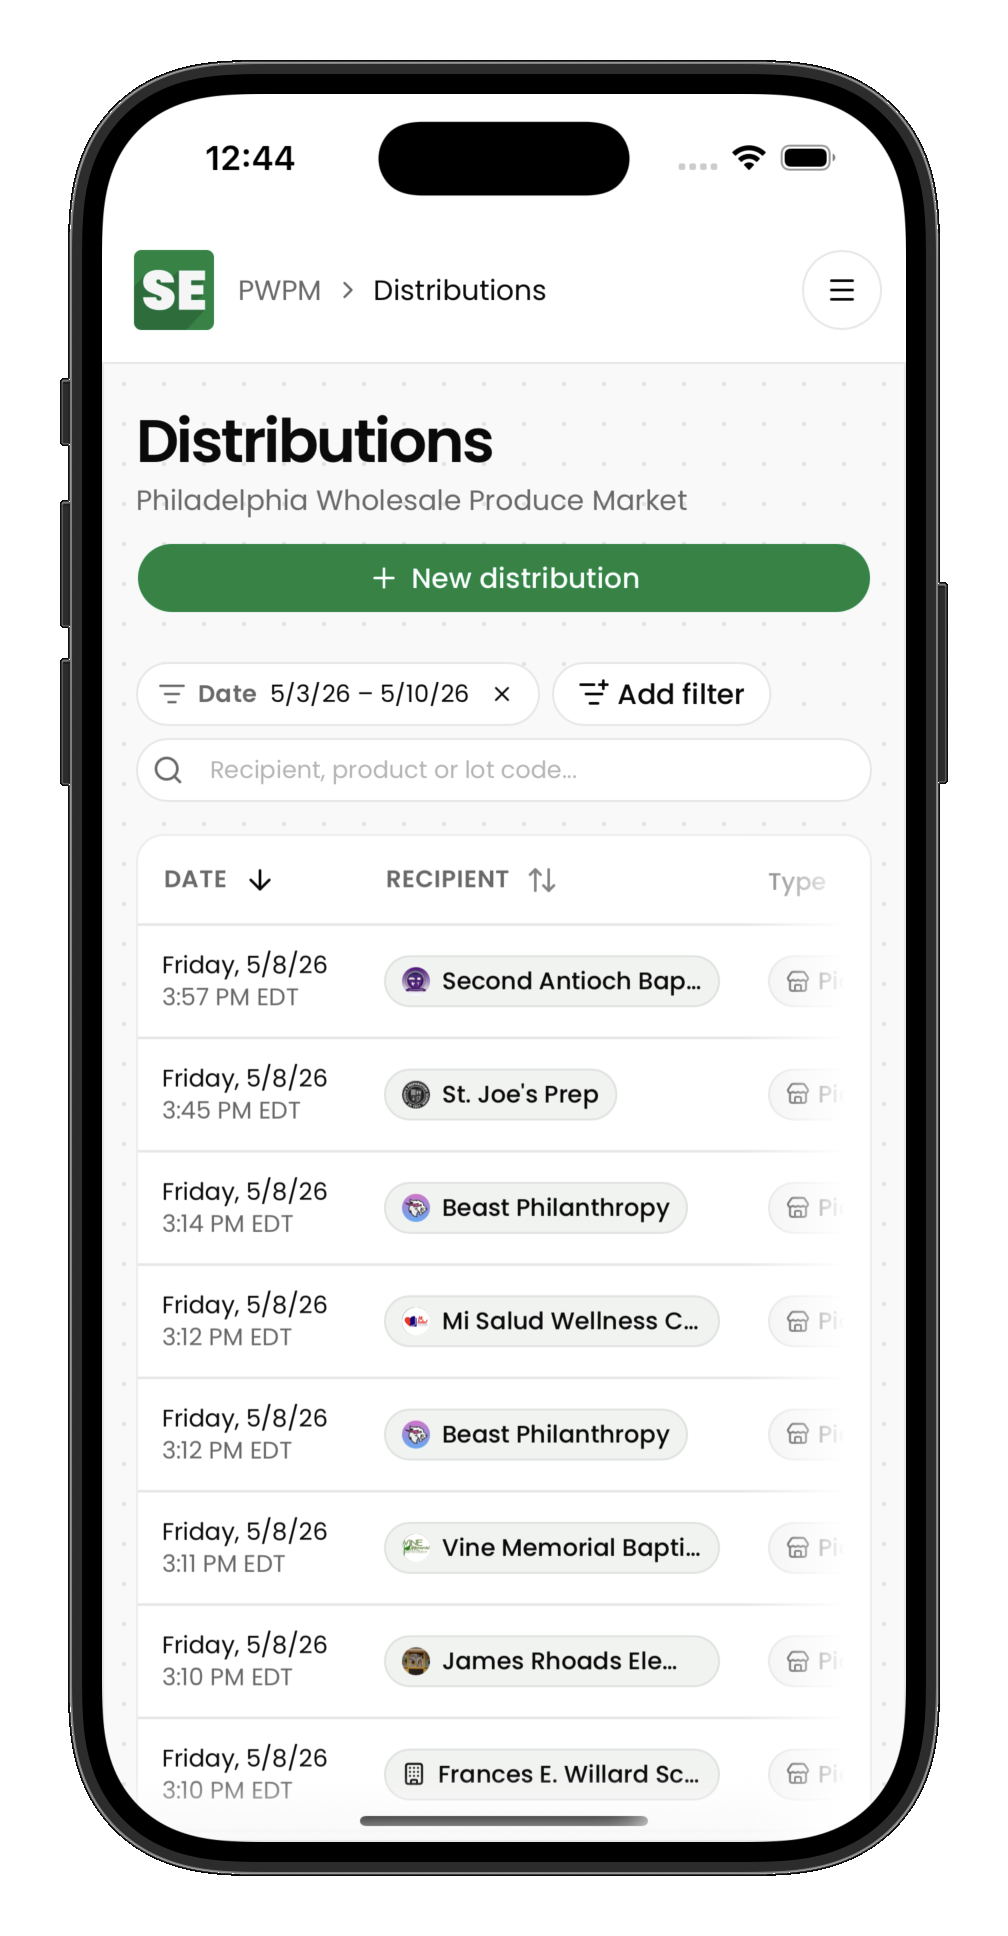
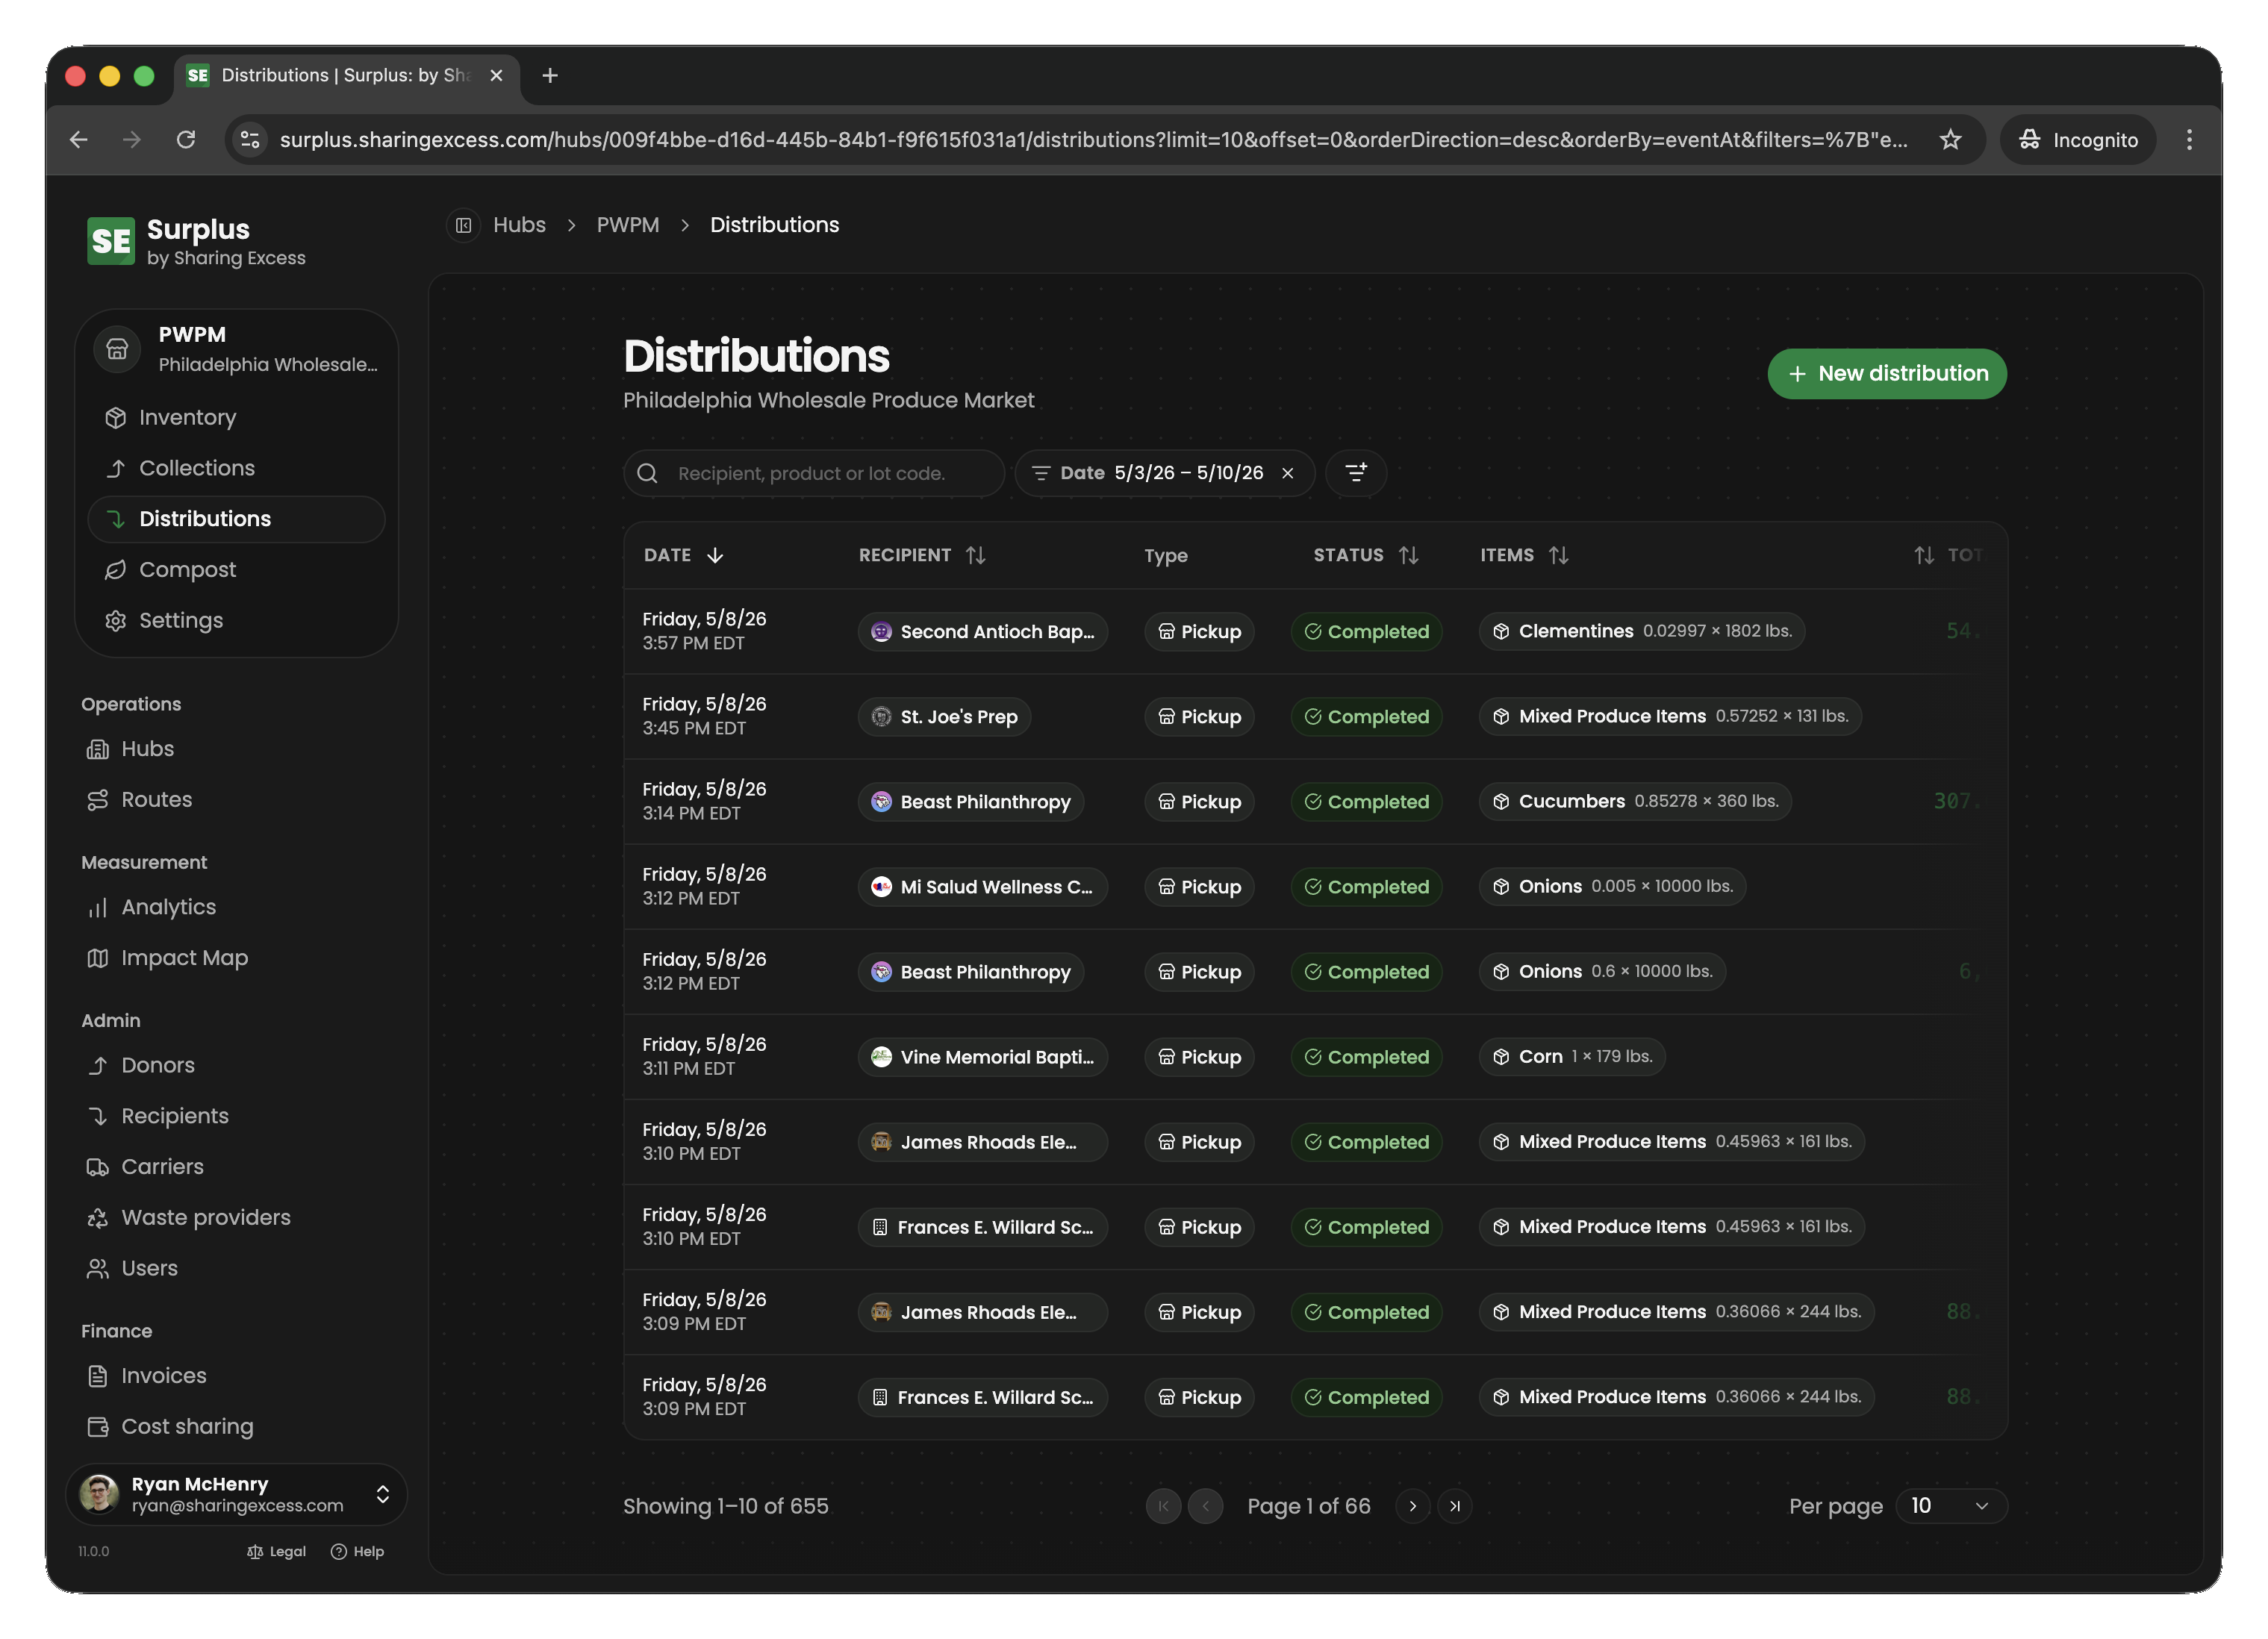
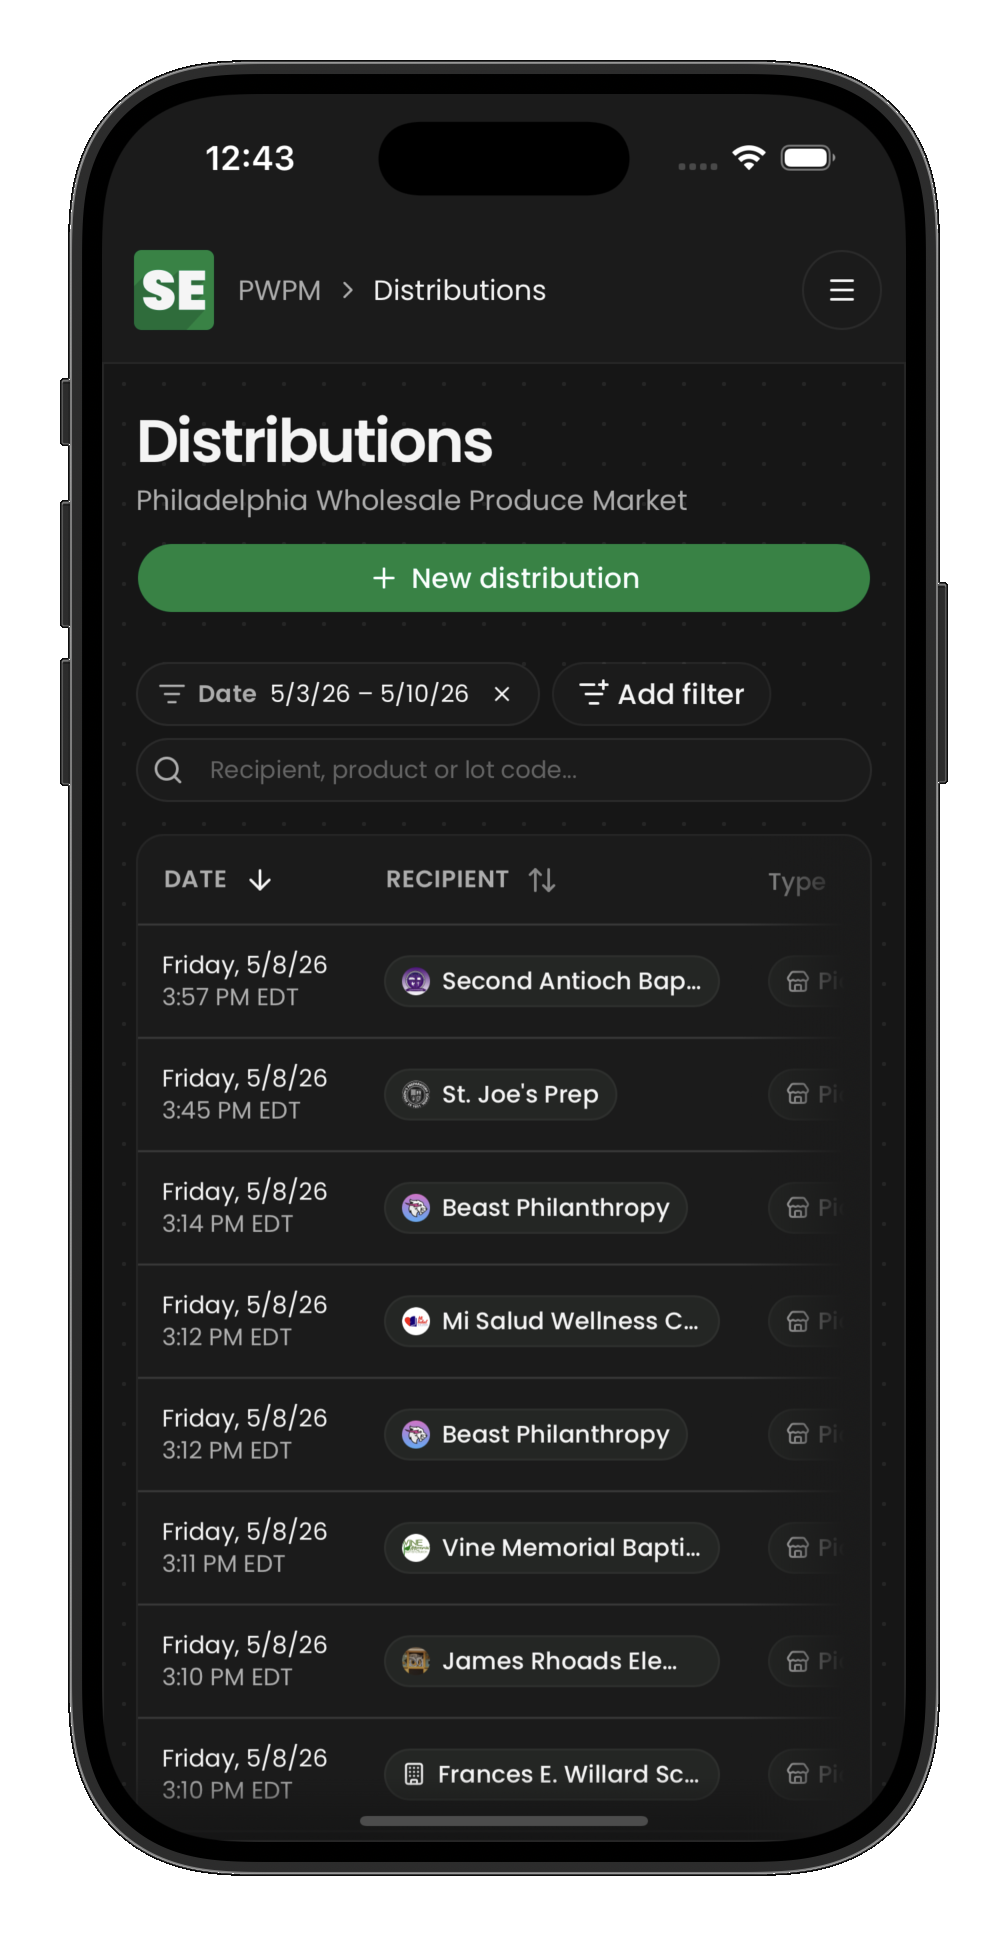
How allocation works
- Select a scheduled distribution (or create a new one)
- Choose items from hub inventory to allocate
- For each item, specify the quantity (full or partial)
- Save the allocations
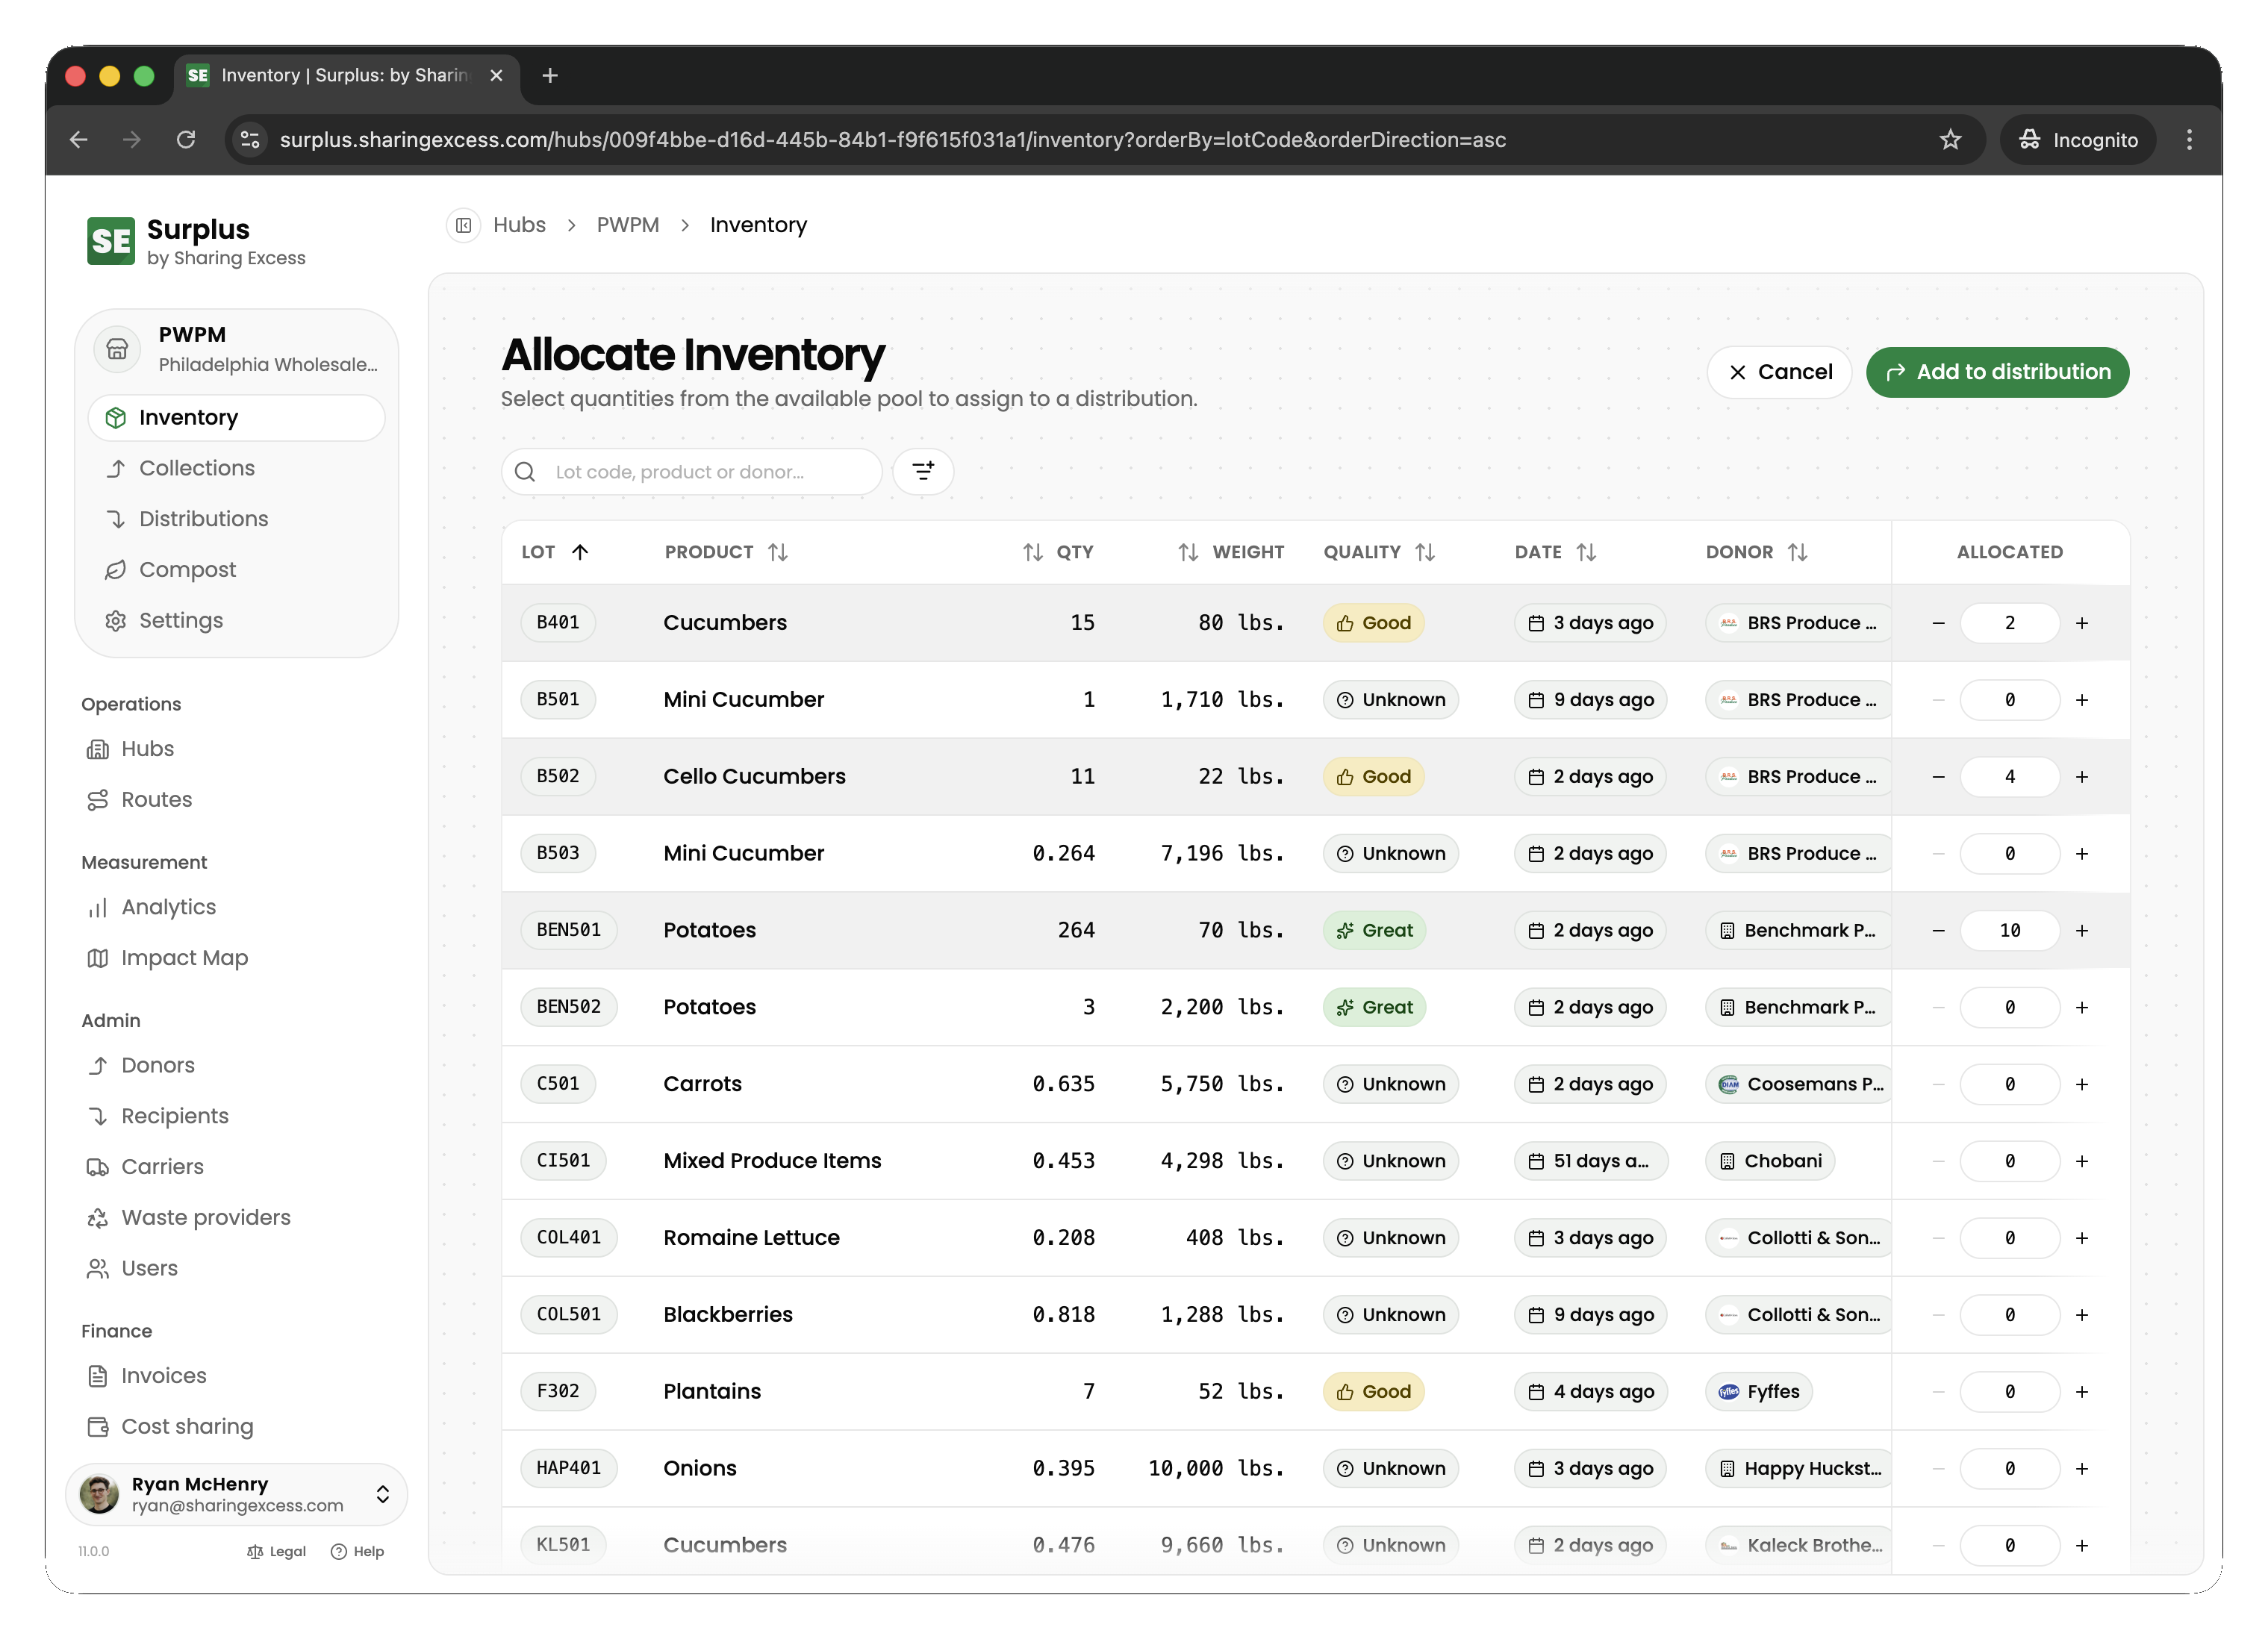
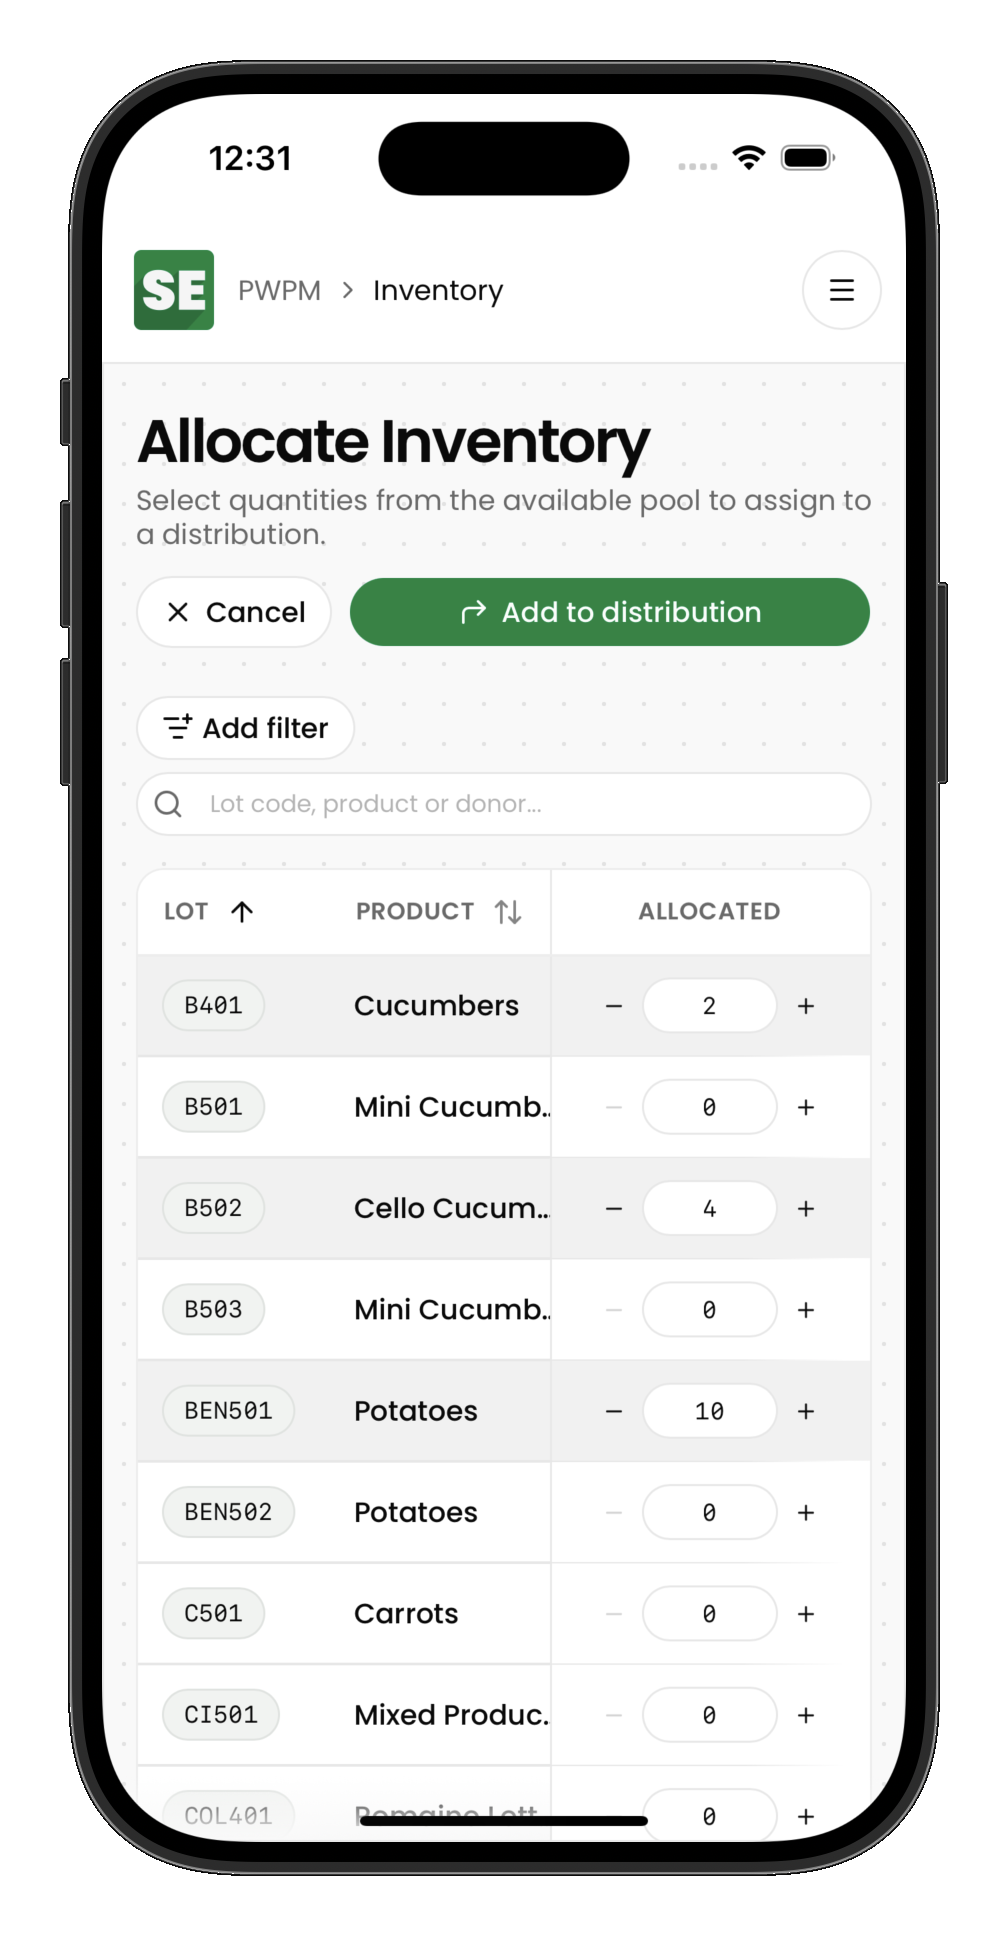
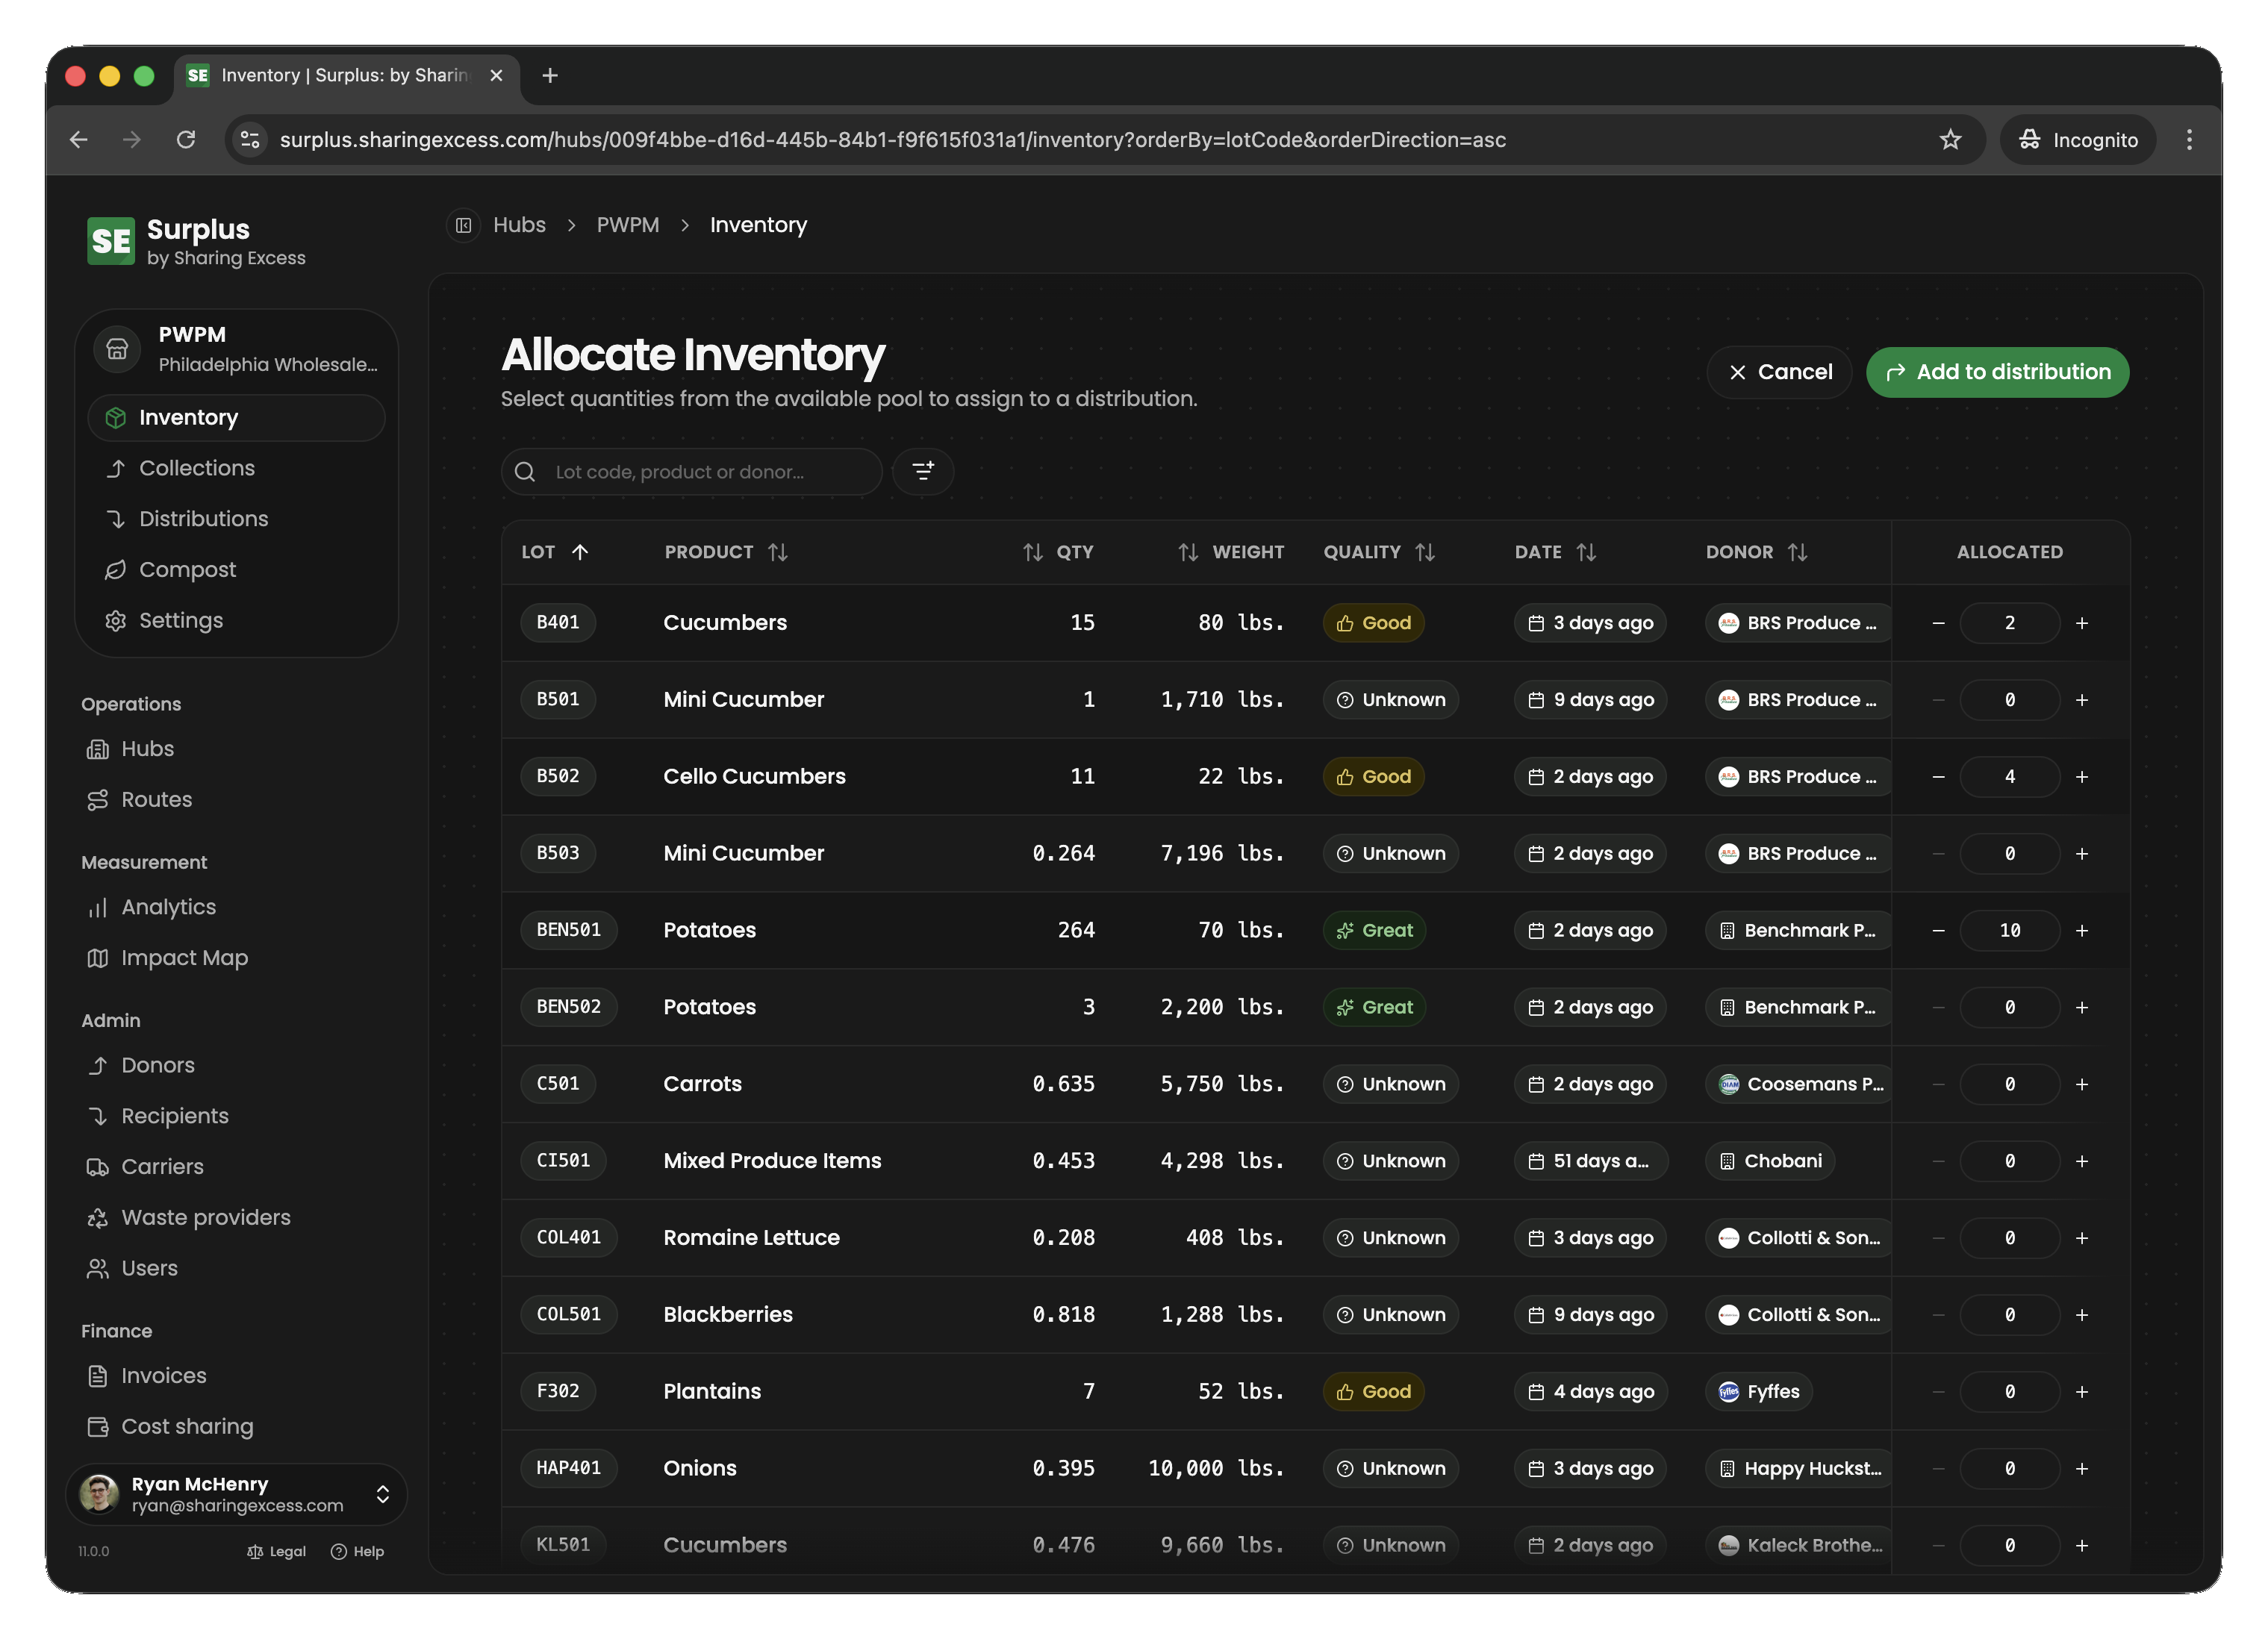
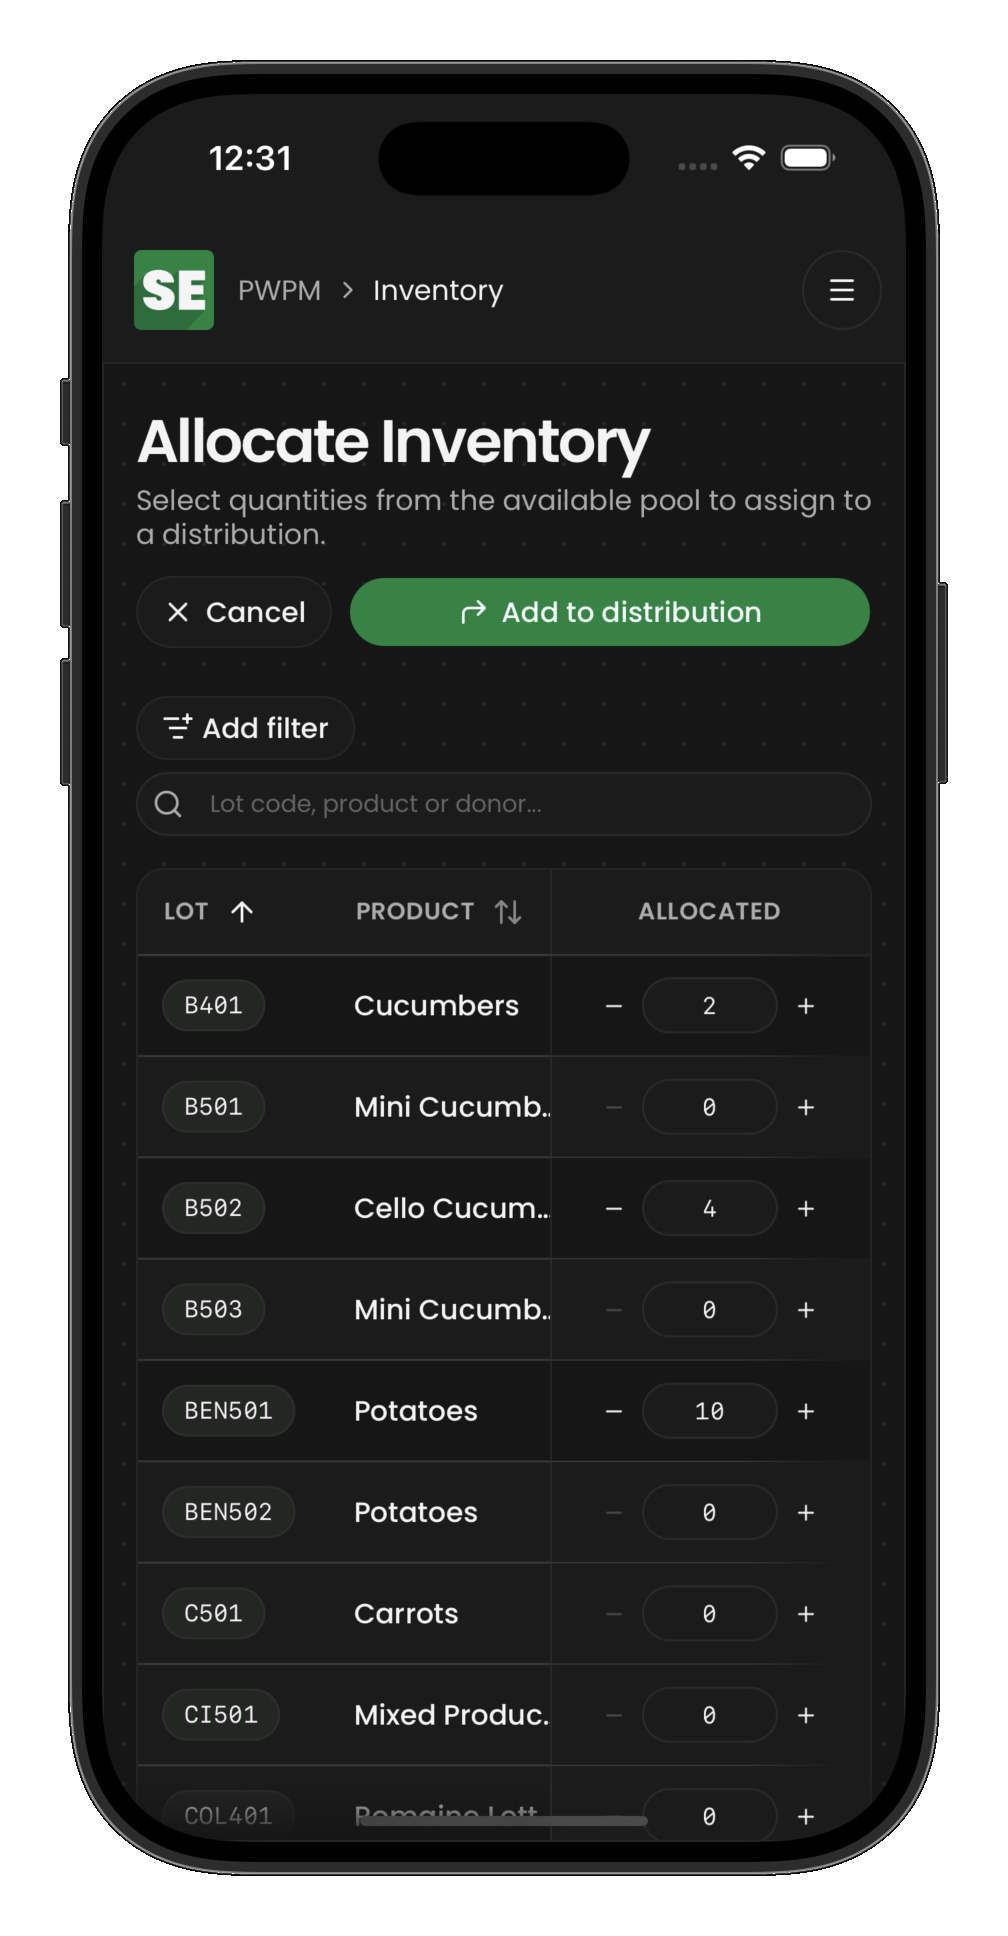
When you allocate:
- Full quantity — the entire item row is marked
allocatedwith the distribution ID - Partial quantity — the item is split: a new row is created for the allocated amount, and the original row's quantity is reduced
Allocated items remain physically at the hub until the distribution is completed.
Editing allocations
Open a distribution to manage its allocations and details:
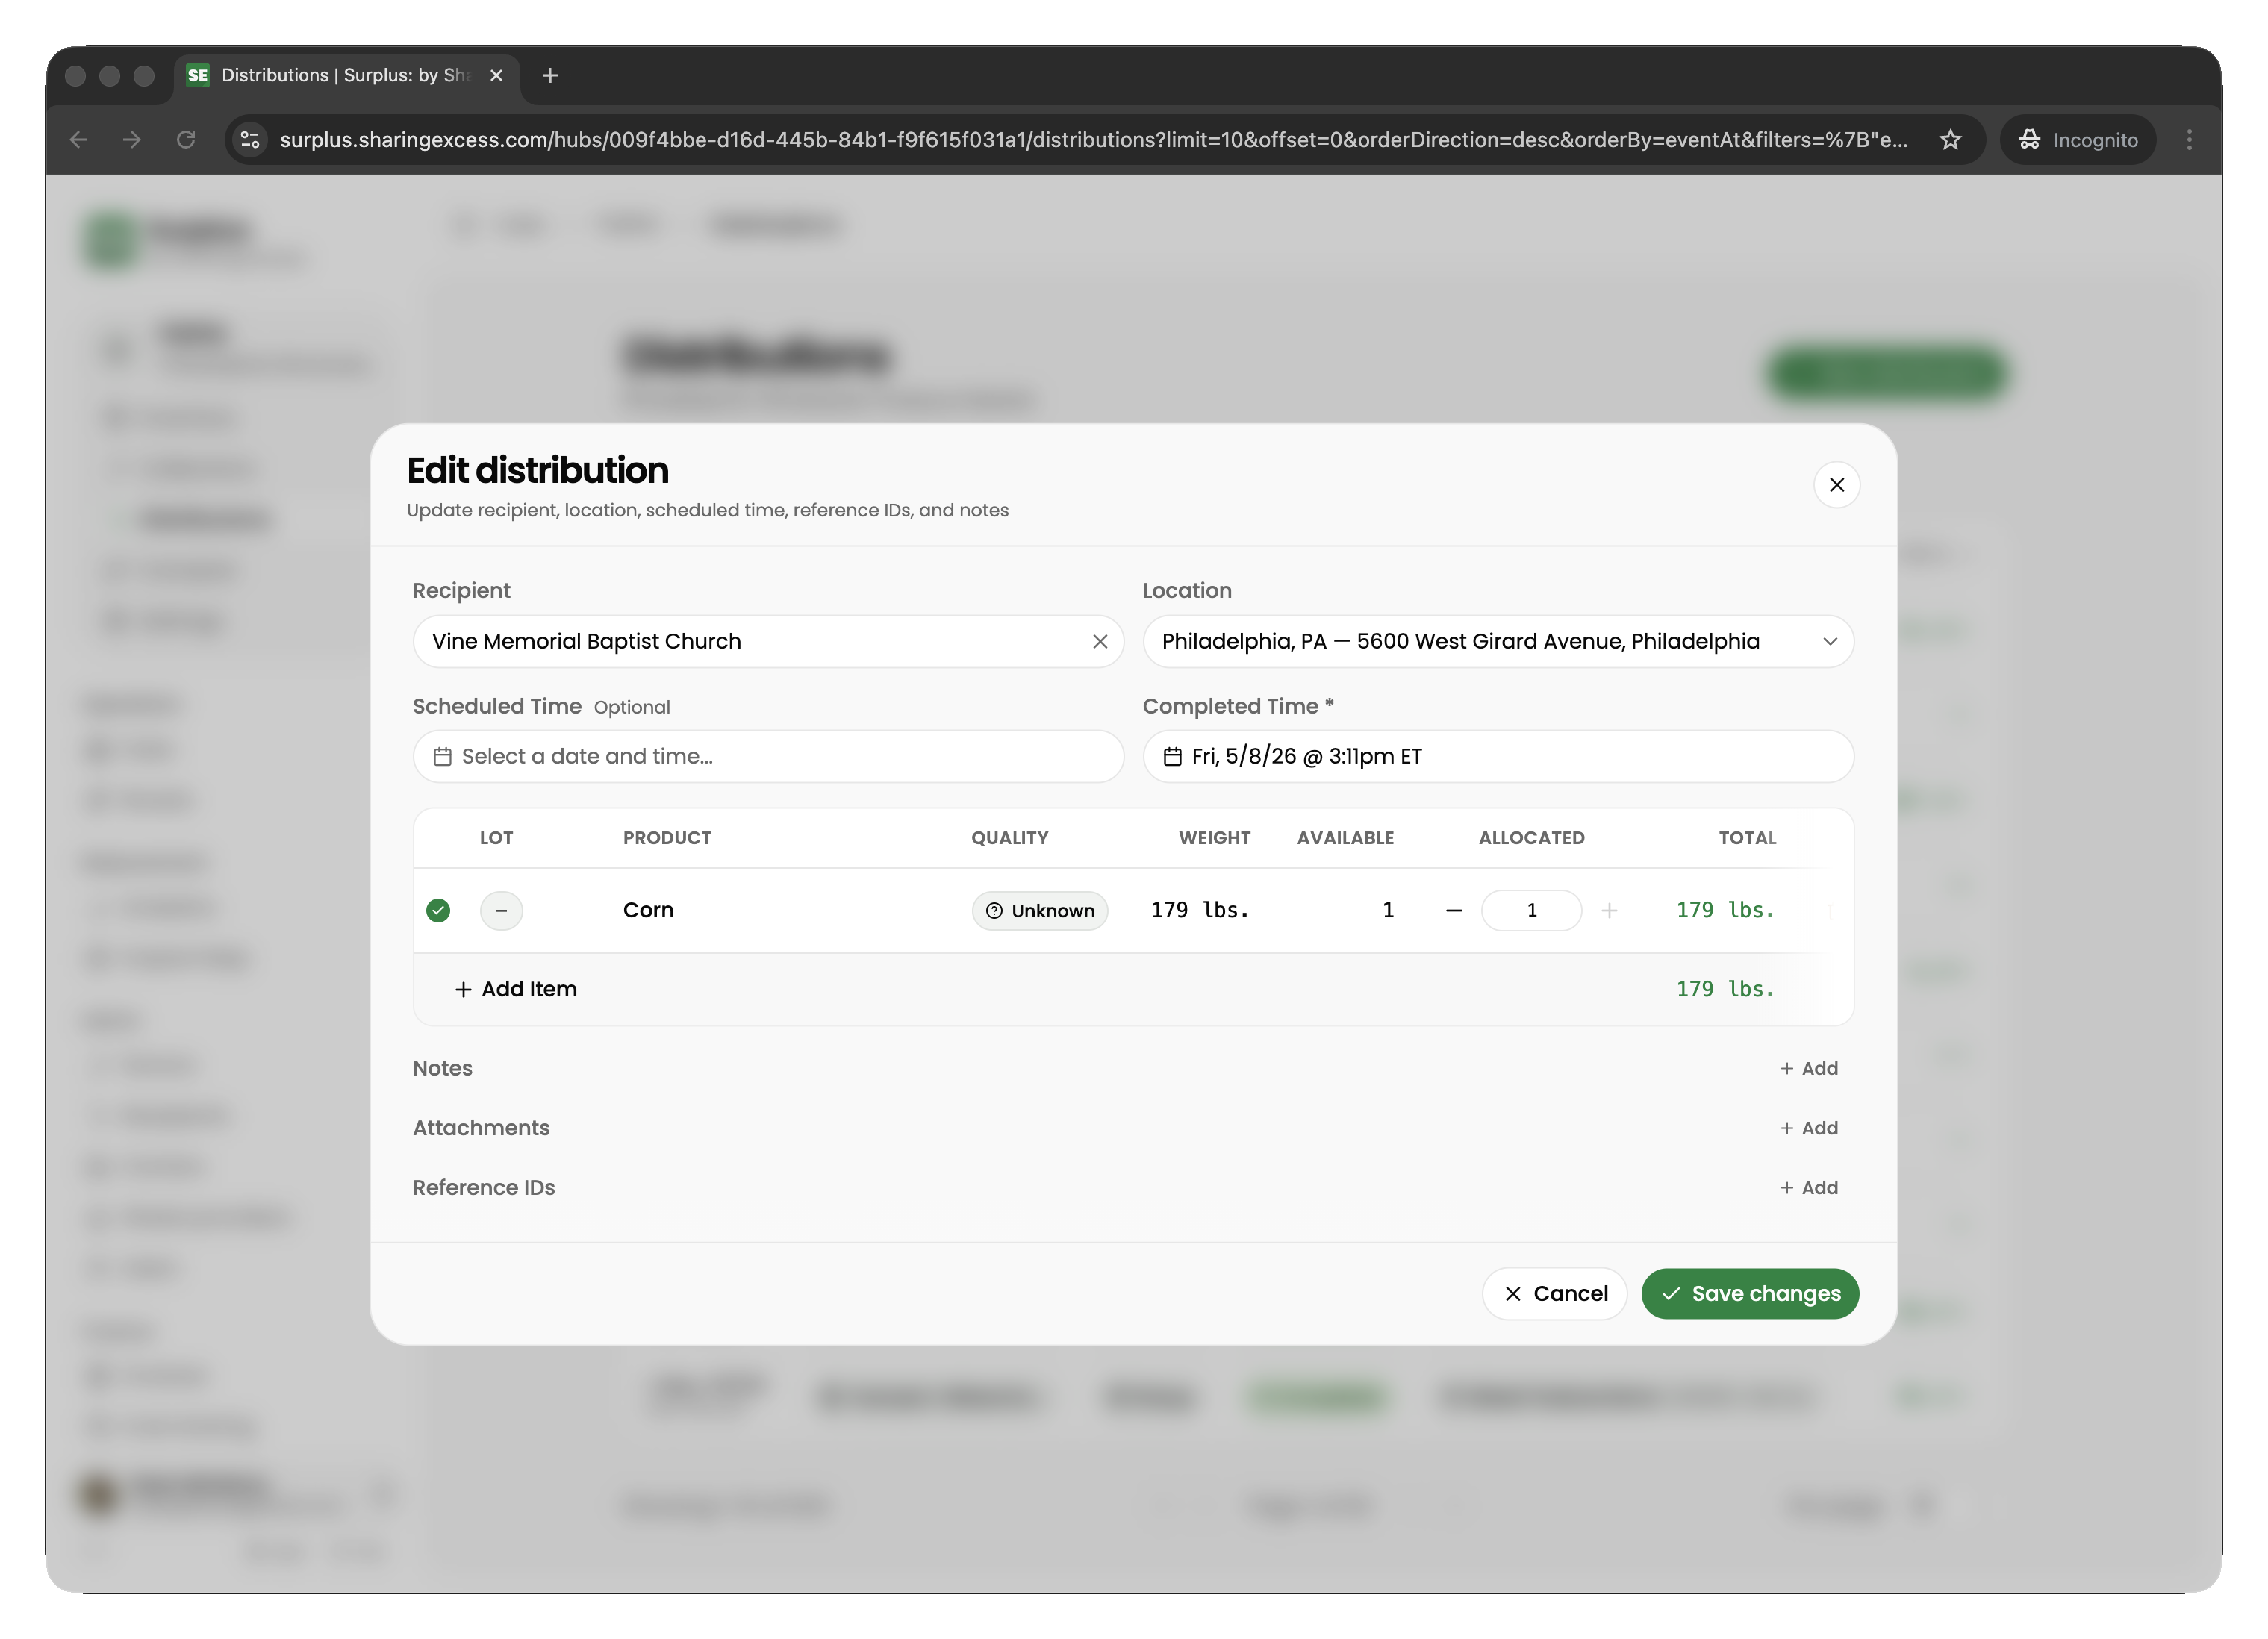
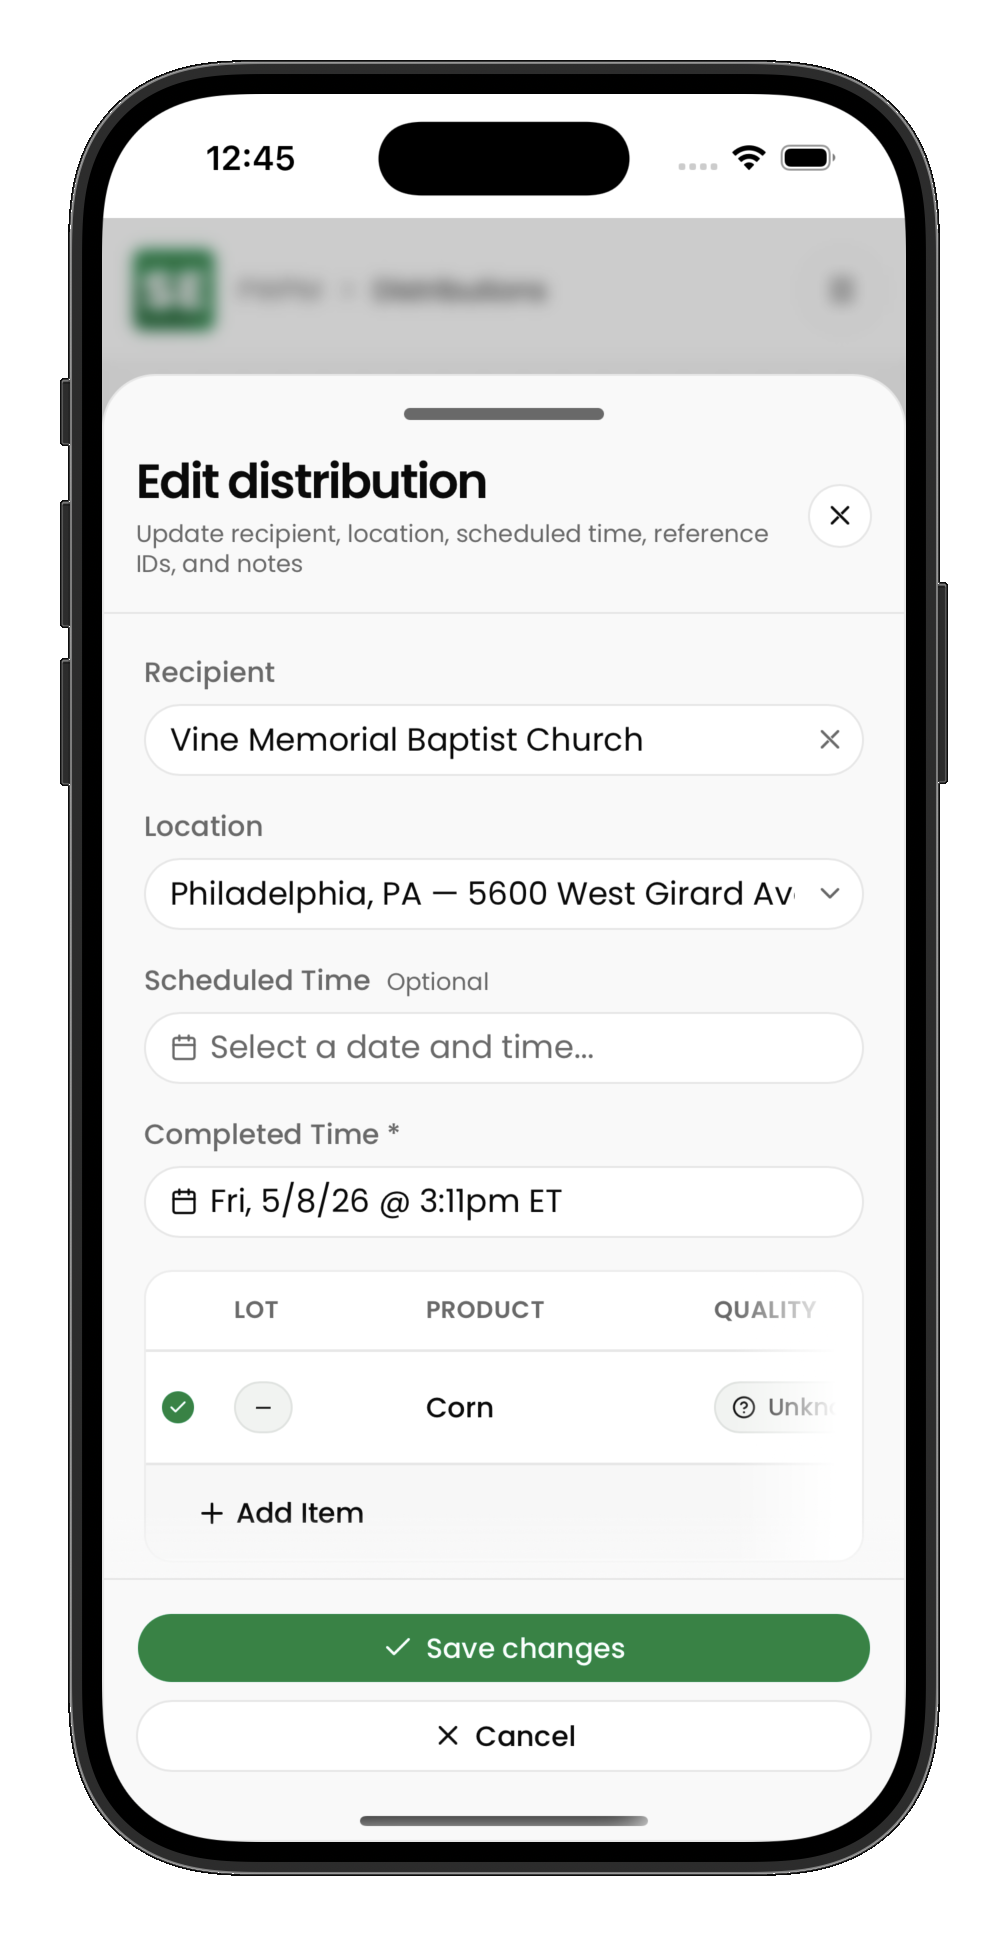
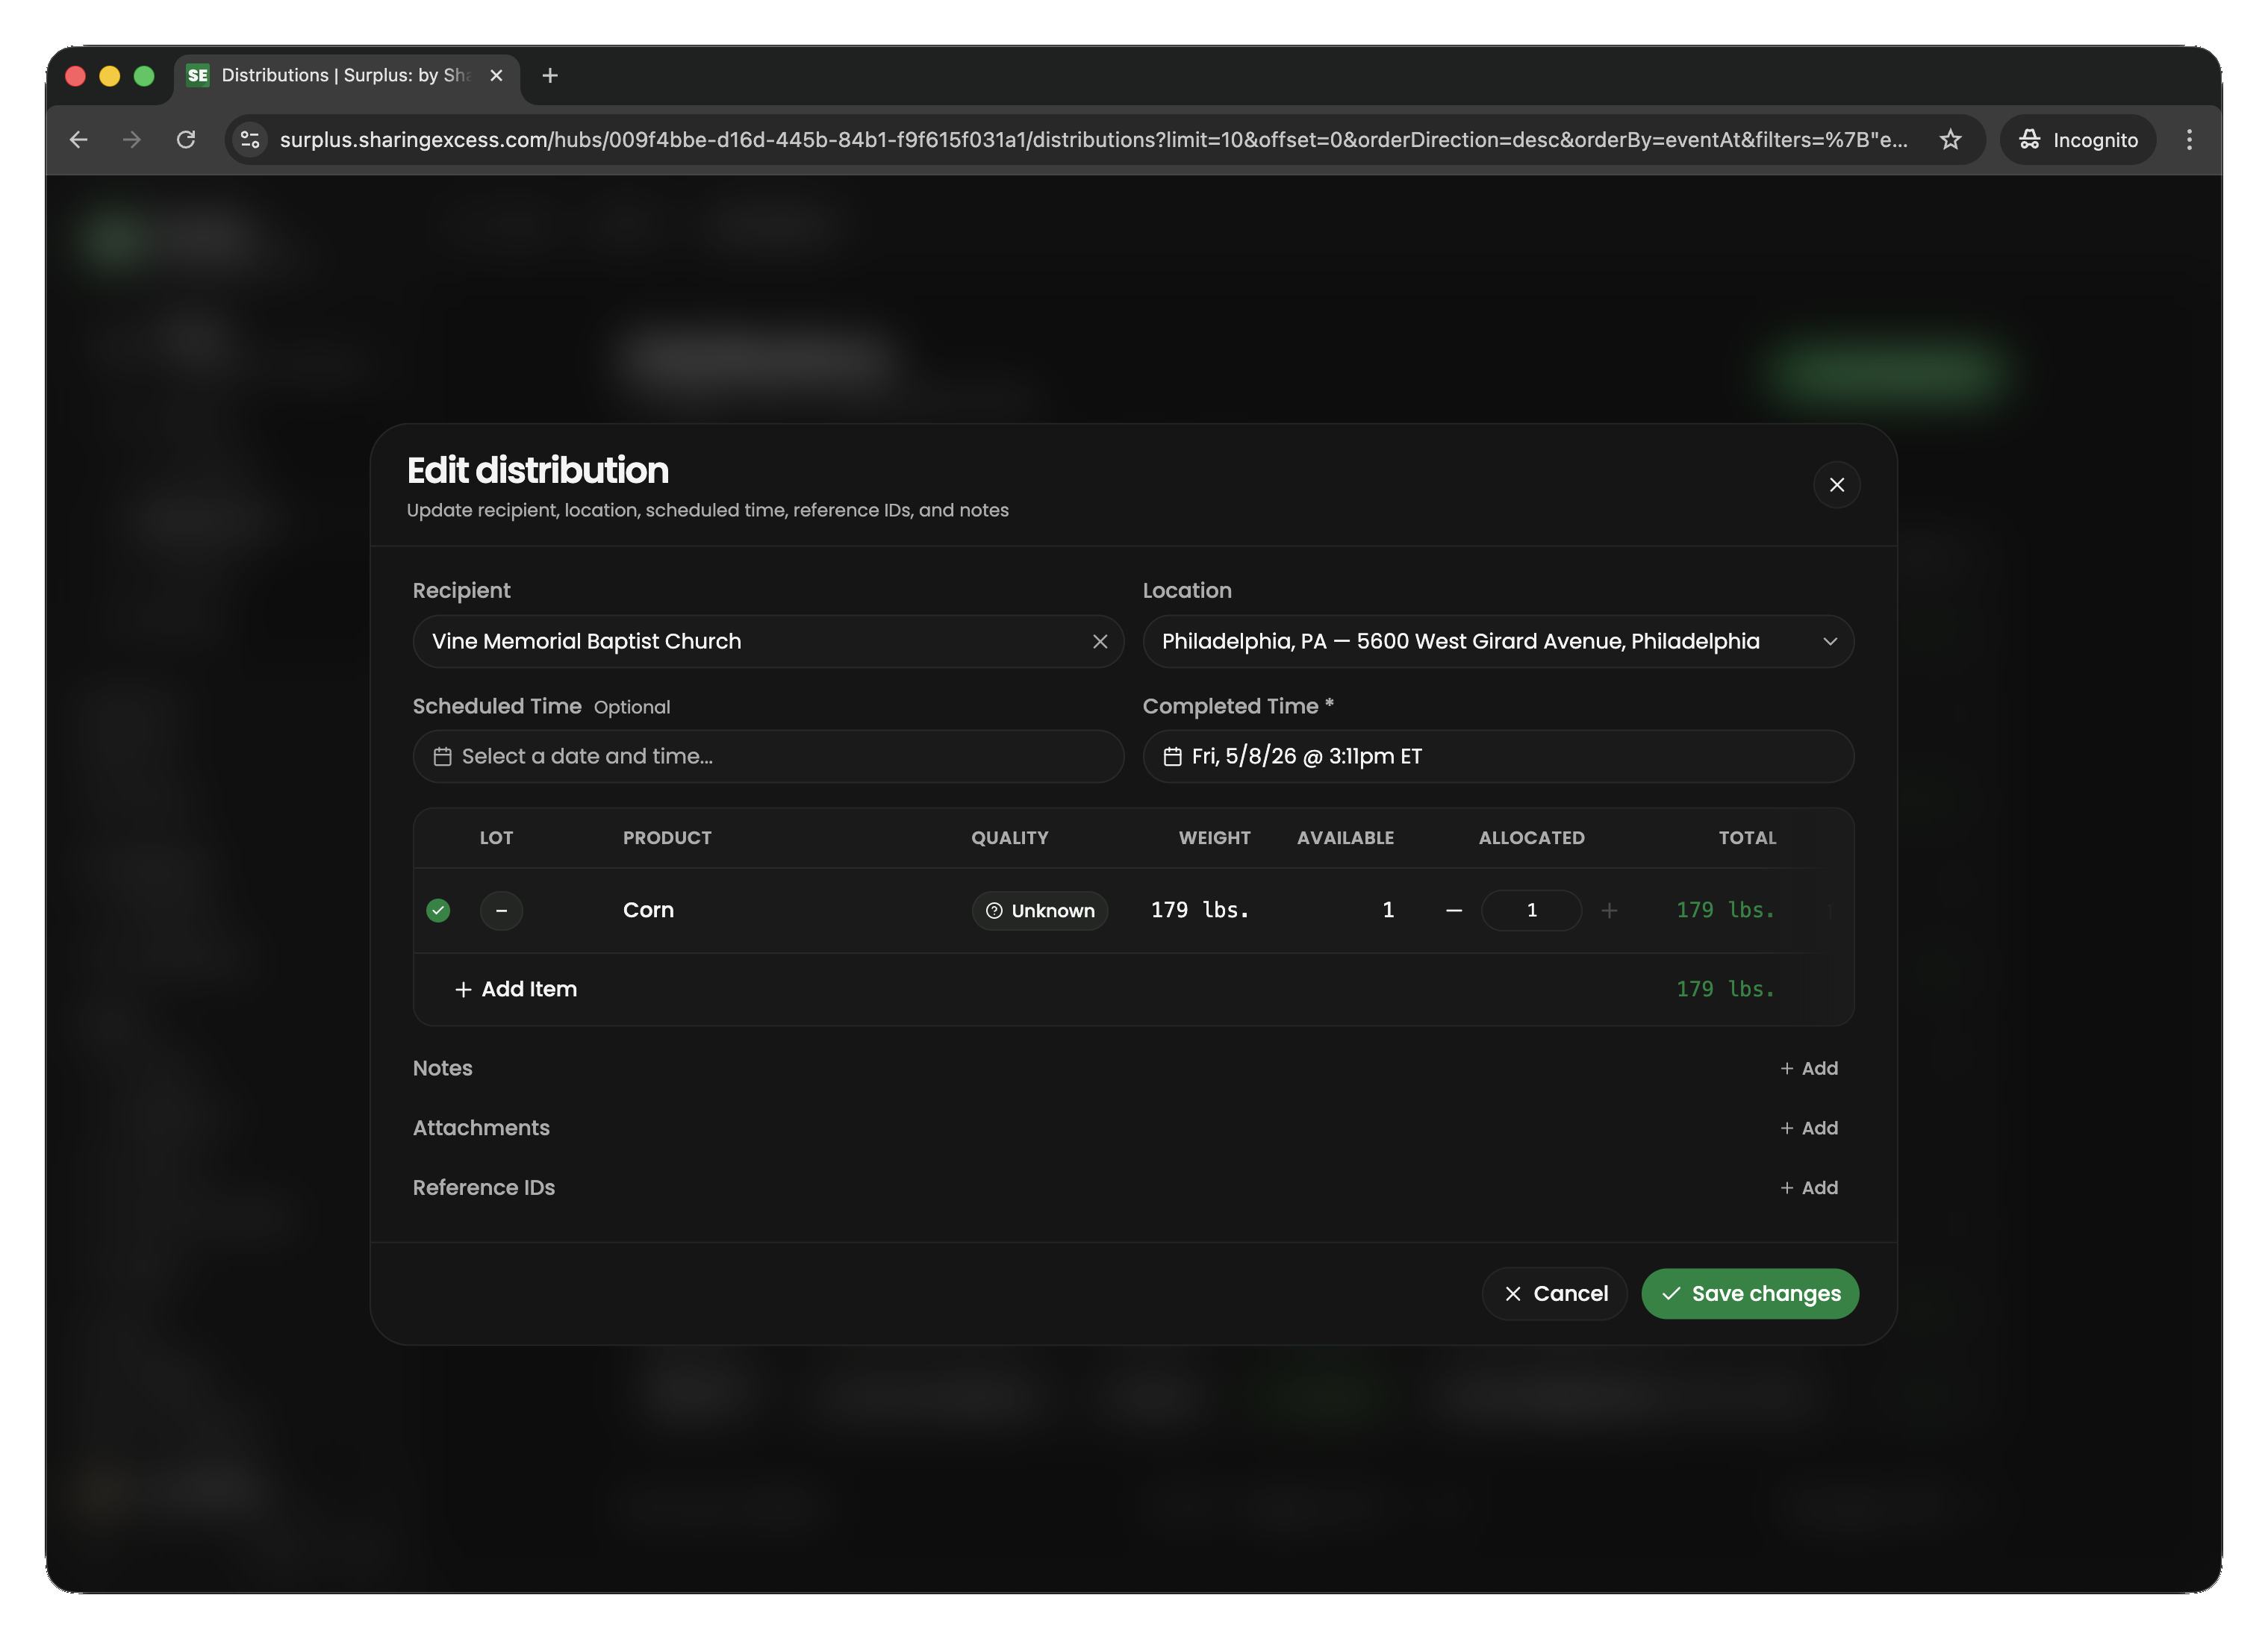
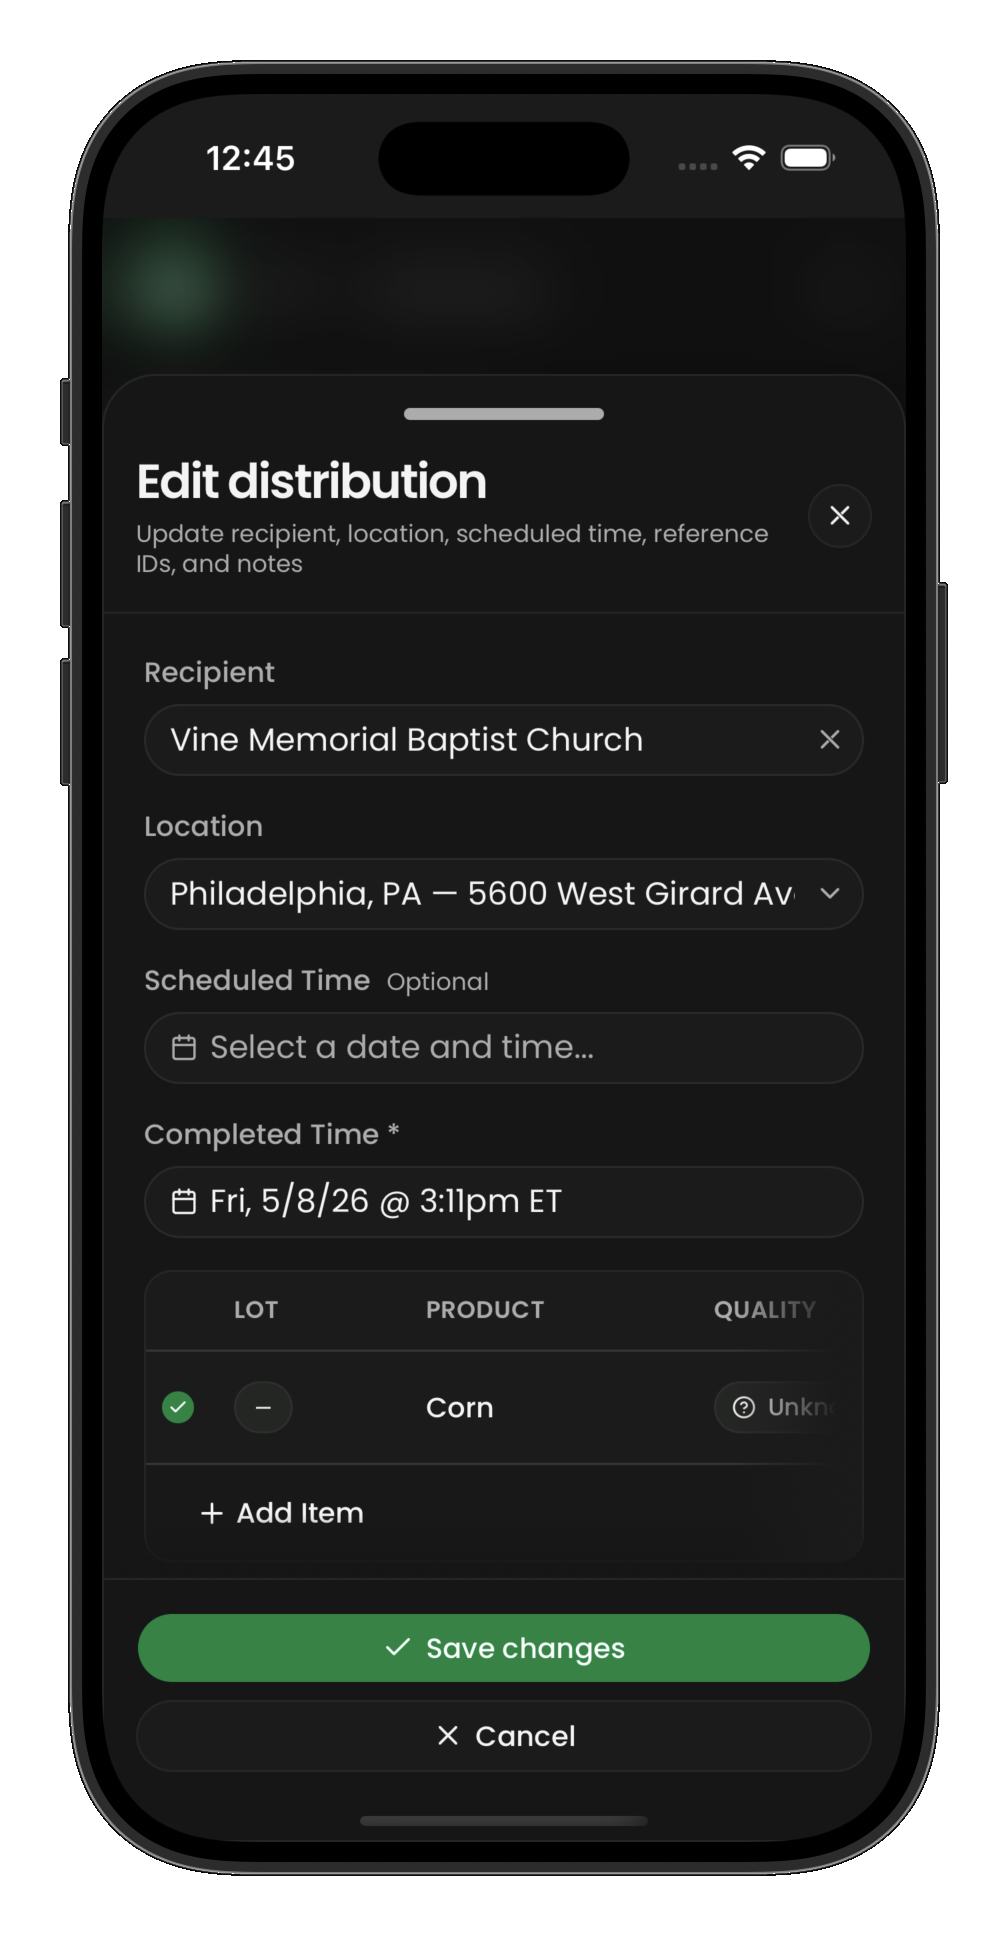
From the edit view you can:
- Add or remove allocated items
- Adjust allocated quantities
- Change the recipient or location
Releasing allocations
To remove items from a distribution without cancelling the whole event:
- Open the distribution and reduce or remove allocations
- Released items return to
activestatus in hub inventory
Hub-connected route distributions
For deliveries via route (not onsite pickup):
- The distribution has both a
hubId(source warehouse) androuteId - Items are allocated from hub inventory as usual
- The route must have a load stop at this hub before the distribution stop
- When the load completes, items physically move from hub to vehicle
- When the distribution stop completes, items are finalized as
distributed
Related guides
- Run a hub distribution — complete the handoff to a recipient
- Hub inventory overview — view available stock